How to Stop Dropping Soap in Shower: 7 Proven Methods
Last Updated: October 24, 2026
Quick Summary
How to stop dropping soap in shower involves three main strategies: using proper hand position by gripping the sides of the bar rather than the bottom, choosing a handled soap bar that provides a solid grip point, and storing soap on a drainage dish to prevent slime buildup that causes slipping.
- Grip the sides of the soap bar with curled fingers and inward thumb pressure to distribute grip across multiple contact points instead of concentrating pressure on the slippery bottom.
- Handled soap bars work especially well for kids and people with limited grip strength because the handle provides something solid to hold instead of the slippery soap surface.
- Use a soap dish with drainage holes or a wire rack to elevate the bar and allow air circulation underneath, preventing the slimy buildup that makes soap slippery.
- Pat the bar dry after each use with a towel to remove surface water and cut slime formation dramatically.
- Store soap away from direct shower spray in a corner or on a shelf so it dries between uses rather than sitting constantly wet.
Table of Contents
- Why You Keep Dropping Soap and What It Costs You
- How to Hold Slippery Soap: Hand Position and Technique
- Soap With a Handle: The Built-In Grip Solution
- How to Keep Bar Soap From Getting Slimy
- Using a Soap Saver Bag for Better Grip and Drainage
- Soap Dishes and Storage: Reducing Slime and Slip
- Best Practices for Everyone: Kids, Elderly, and Those With Limited Grip Strength
- Frequently Asked Questions
Why You Keep Dropping Soap and What It Costs You
Learning how to stop dropping soap in shower is more than an annoyance, it's a practical necessity. Each slip cracks, breaks, or washes product down the drain, and that waste adds up.
The real problem is physics, not clumsiness.
Here are practical methods for how to stop dropping soap in shower, some technique, some products built for better grip, so you can pick what fits your situation.
How to Hold Slippery Soap: Hand Position and Technique
A better grip starts with hand position, not strength.
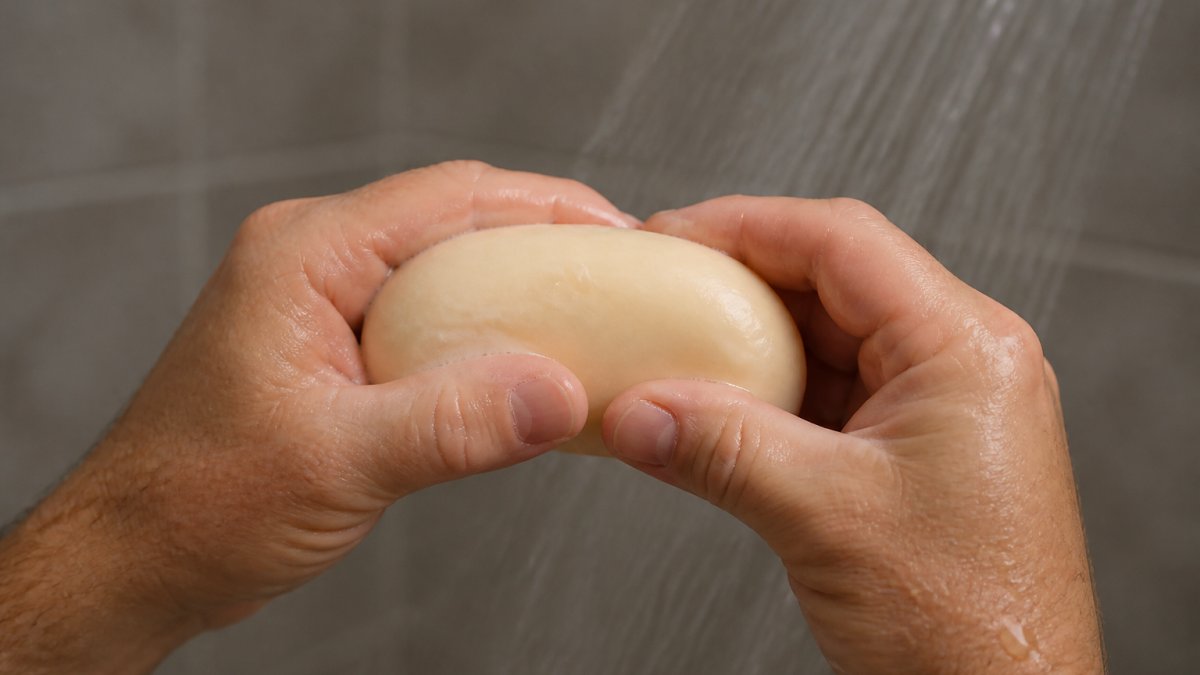
Try this grip sequence:
- Wet your hands first
- Place the soap bar vertically between thumb and fingers
- Curl your fingers around the sides (not the bottom)
The key is pressure distribution: gripping only the bottom concentrates pressure where water and soap residue break the grip, while gripping the sides spreads it across multiple contact points.
Soap With a Handle: The Built-In Grip Solution
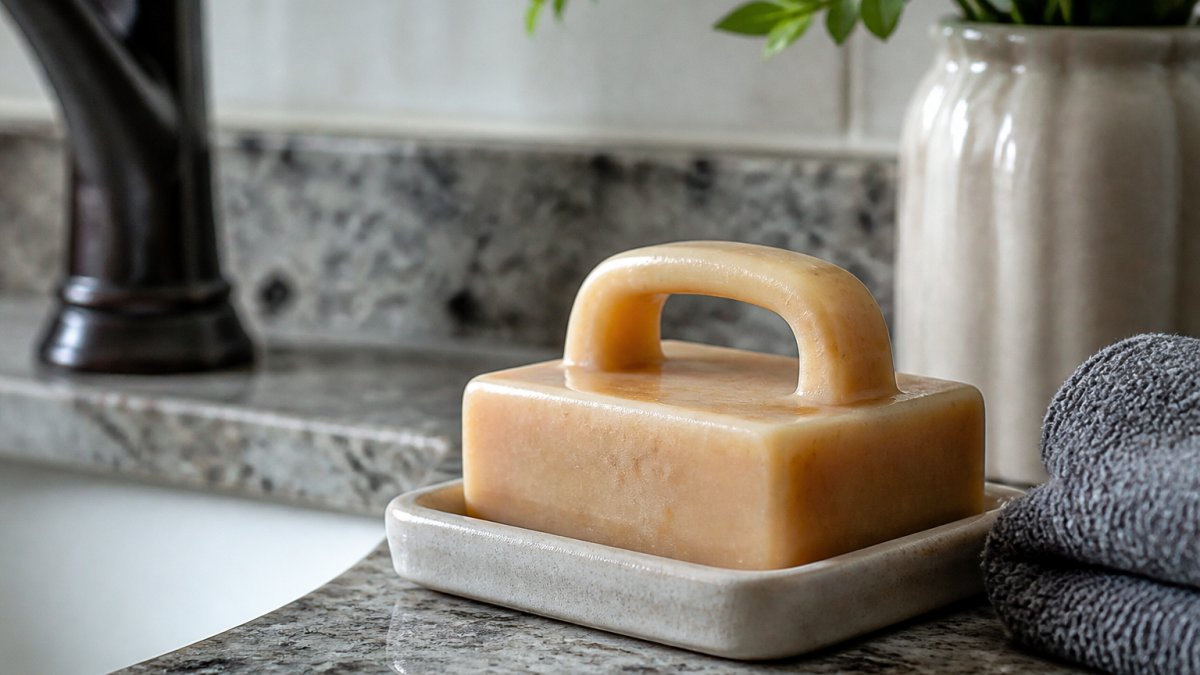
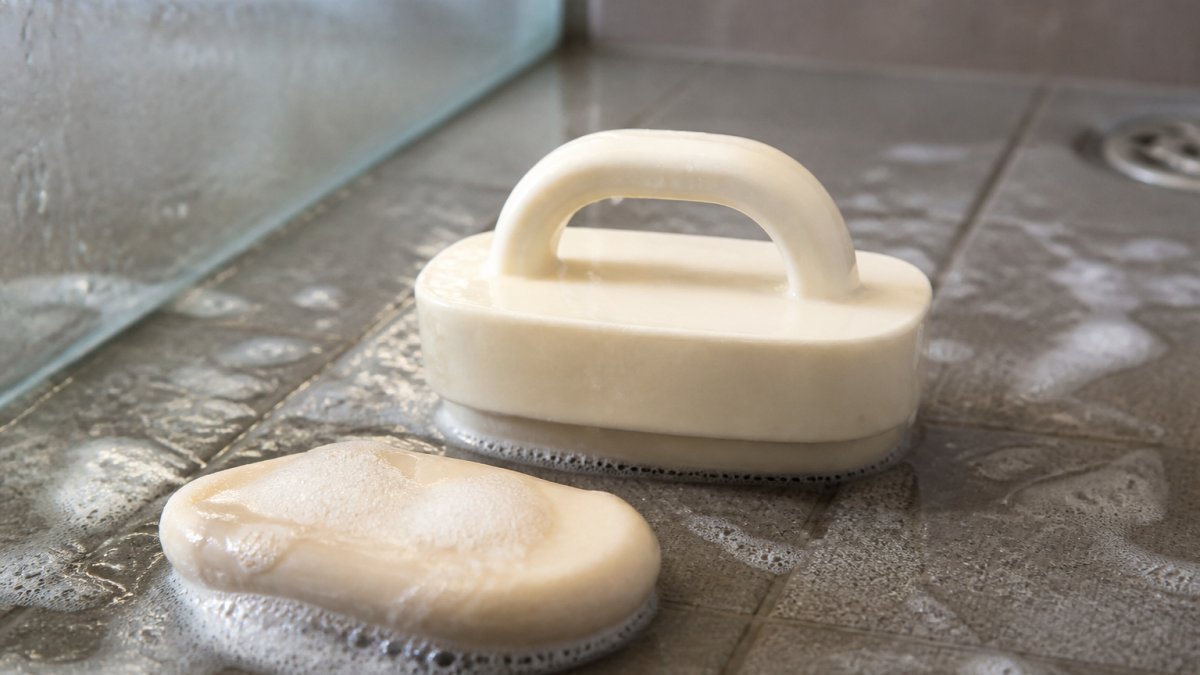
A soap with a built-in handle solves the dropping problem at the source, but whether it reduces waste depends on what the handle is made of, how long it lasts, and what happens to it when the soap is gone. A handle gives you something solid to hold, so your fingers grip it instead of the slippery soap surface, which is why handles work so well for kids and people with limited grip strength.
Handle materials and what they mean for waste
Handled soap bars generally fall into four material categories, and each has a different waste profile:
- Soap-integral handles: The handle is molded from the same soap base as the bar. There is no separate material to dispose of, the handle dissolves or wears down with the bar. This is the lowest-waste design because there is no second product stream.
- Reusable plastic or silicone handles: The handle is a separate, durable component that outlasts several bars. Waste depends entirely on whether you actually reuse it. A handle that gets lost, broken, or abandoned becomes additional plastic waste rather than a saving.
- Wood or bamboo handles: These are often compostable or biodegradable at end of life, but they can crack, split, or grow mold if left wet between uses. Durability is the weak point.
A practical, like-for-like waste comparison
A useful comparison looks at four waste streams: packaging, leftover soap, product loss to the drain, and replacement frequency.
- Packaging: A loose bar typically comes in paper or a thin wrap. Liquid soap almost always comes in a plastic bottle with a pump. A handled bar usually adds a small amount of packaging or a separate handle component, so its packaging footprint sits between a loose bar and liquid soap unless the handle is reusable.
- Leftover soap: Loose bars are notorious for leaving a thin sliver that is too small to hold and gets washed down the drain. A handled bar lets you use the soap down to the handle, which reduces that sliver waste. A soap saver bag achieves a similar result for loose bars.
- Product loss to the drain: Every dropped bar loses product. A handled bar reduces drops, so less soap is lost mid-use. This is the clearest waste advantage of the handle design.
A handled bar typically wins on leftover-soap and drop-loss waste, ties or slightly loses on packaging versus a loose bar, and beats liquid soap on packaging by a wide margin.
Durability and end-of-life disposal
A handle only helps if it survives real shower conditions. Look for slight texture or ridges; smooth plastic handles slip when wet.
At end of life, ask where the handle goes:
- Soap-integral handles go down the drain with the last of the bar, no separate disposal step.
- Plastic and silicone handles usually belong in general waste unless your local program accepts them.
- Wood and bamboo handles can often be composted, but only if they are untreated and not moldy.
Using a handled bar efficiently
Treat a handled bar like a tool and it lasts longer and stays grippier:
- Wet the bar and your hands, then grip the handle, not the soap, for the whole wash.
- After showering, shake off excess water and stand the bar on its handle end so air reaches the soap.
- Store it outside the direct shower spray so it is not constantly wet.
- Wipe the handle dry if it feels slick; a dry handle is a secure handle.
- When the soap wears down to the handle, check whether the handle is reusable before discarding it.
Accessibility and usability trade-offs
A handled bar isn't automatically better for everyone. Larger handles suit arthritic hands but can be bulky for small children; textured or rubberized handles compensate for weaker grip; metal is durable but heavier, wood lighter but needs drying.
Our soaps feature handles designed for real shower conditions. Kids love the grip; adults appreciate the efficiency.
Browse soap handlers that provide slip-free solutions for your entire household.
How to Keep Bar Soap From Getting Slimy
Slime forms when soap sits in standing water, making everything slippery, including your hands and the tub floor.
Use a soap dish with drainage holes that elevates the bar so air flows underneath, even a simple wire rack beats a solid dish. Pat your soap dry after use: a quick towel wipe removes excess water, cuts slime formation, and keeps your grip firm.
Using a Soap Saver Bag for Better Grip and Drainage
A soap saver bag improves grip and extends soap life.
Choose open mesh. Tight weaves trap water so the soap stays wet and slimy; loose mesh drains while holding pieces securely.
Find exfoliating soap handlers that combine grip improvement with effective drainage for extended soap life.
Saver bags work especially well for kids: they're easy to hold without dropping, and many children find the mesh texture more fun than traditional bars.
Soap Dishes and Storage: Reducing Slime and Slip
The right soap dish makes a real difference: a dish is not just a resting place but a drainage system. When it works, the bar dries between uses, stays firm, and lasts longer; when it fails, the bar sits in a puddle, turns slimy, and slips out of your hand.
Why slime forms and what it does to grip
Slime is what happens when soap absorbs water faster than it can dry: the outer layer softens, becomes slick, and loses the firm surface your hand needs to grip. A bar that stays wet also dissolves faster, so you replace it sooner, a waste problem as much as a grip problem. The fix is drainage plus airflow. A wet bar sitting flat on a solid surface traps water underneath, and that trapped water is where slime, mold, and premature breakdown start.
Dish materials compared
- Solid ceramic or plastic dishes: Trap water underneath unless they have raised ridges or drainage holes. Smooth plastic is the worst offender because it neither drains nor grips.
- Ridged ceramic dishes: The ridges lift the bar slightly and create channels for water to run off. Good drainage, but heavy and breakable.
- Wood dishes: Absorb excess moisture and feel warm and grippy, but they need to dry out between uses or they can crack and harbor mold.
Placement and habits that actually reduce slime
Placement matters as much as the dish itself. Keep the soap dish away from the direct shower spray so it catches drips rather than sitting under the stream. A corner of the tub or a shelf out of the main spray works better than the center of the shower.
A few habits compound the benefit:
- Pat the bar dry after use. A quick towel wipe removes surface water and cuts slime formation dramatically.
- Stand the bar on edge or on its handle so air reaches the largest possible surface.
- Clean the dish weekly with hot water to remove soap film and prevent mold.
Storage that extends soap life and cuts waste
Storage is where grip and waste meet: a bar that dries properly lasts longer, wastes less to dissolution, and keeps a firm surface that is easier to hold.
If your bathroom is humid, a covered dish with ventilation slots keeps splashes off while letting air move. Avoid airtight containers, they trap moisture and make slime worse.
Consider your bathroom's humidity. High moisture makes everything slippery. A ventilation fan helps. So does wiping down the tub after showering. Less standing water means less slime, and fewer dropped bars.
Different dish materials offer varying levels of drainage and grip, each with distinct trade-offs.
| Material | Drainage | Key Characteristic |
|---|---|---|
| Solid ceramic or plastic | Poor | Traps water underneath unless ridged |
| Ridged ceramic | Good | Creates channels for water runoff |
| Wood | Good | Absorbs moisture but needs drying |
| Wire racks and slatted trays | Excellent | Minimal material, may mark soft soap |
| Soap saver bags | Excellent | Mesh holds scraps while draining water |
Best Practices for Everyone: Kids, Elderly, and Those With Limited Grip Strength
Different people face different challenges with slippery soap.
For kids: Make it fun and safe.
For elderly adults: Accessibility matters most.
For everyone: Warm water before soaping. Wet your hands thoroughly.
Position yourself safely. Don't reach awkwardly for soap.
Use two hands when possible. Grip with both hands to distribute pressure. This works for anyone, regardless of strength or age.
Consider your bathroom's humidity. High moisture makes everything slippery.
Dropping soap in the shower is preventable.
The Soap Handler approach combines all these benefits.
Check our FAQs for answers to common questions about preventing dropped soap and improving grip in your daily routine.
Frequently Asked Questions
How can I keep bar soap from slipping out of my hands in the shower?
The most effective approach combines proper hand position with the right soap product. Hold the soap on its sides rather than the bottom, use your fingertips for better contact, and consider switching to a soap with a handle for immediate slip-free grip. A soap saver bag also increases friction and prevents the bar from becoming overly slippery. If you have reduced grip strength, a handled soap bar or soap saver bag makes the biggest practical difference.
What is the best way to hold slippery soap?
Grip the soap on its long sides using your fingertips and palm together, rather than holding it from underneath. Keep your hand relaxed and slightly cupped. This distributes pressure across a larger contact area and gives you better control. Avoid gripping too tightly, which can cause the soap to pop out. For maximum security, use a soap with a built-in handle or place the bar in a soap saver bag before washing.
Do soap bags or soap holders make bar soap easier to grip?
Yes. A soap saver bag adds texture and friction, making the bar much easier to grip even when wet and soapy. The mesh material also allows water to drain, keeping the soap drier between uses and reducing slime buildup. Soap holders or dishes help prevent the bar from sliding around in the shower, though they don't improve grip directly. A combination, soap in a saver bag, stored in a well-draining dish, gives the best results.
How can I keep bar soap from getting slimy in the shower?
Store your soap on a draining dish or in a soap saver bag between uses, and ensure water drains away quickly. Keep the soap in a ventilated area so it can dry between showers. Avoid leaving it in standing water or in a sealed container. A soap saver bag is particularly effective because it allows air circulation while keeping the bar contained.