7 Ways to Use Every Soap Sliver Before It's Gone
Last Updated: October 28, 2026
Quick Summary
Save every soap sliver in a dry, open dish with drainage holes and let each piece air-dry fully before adding the next. Then press a single sliver onto a new bar, mash soft scraps into a soap ball, grate hard scraps with hot water, or melt a full jar into a new bar.
- Wet scraps fuse into a mushy lump, but dry scraps stay workable for months.
- Press a sliver onto a wet bar and let it dry overnight so it fuses.
- Melt-and-pour takes 1-2 hours plus overnight set and suits large batches of soft scraps.
- No-melt pressing takes 20 minutes plus 2-3 days drying and needs no stove.
- Keep scraps sorted by scent family so combined bars do not get a muddled scent.
Table of Contents
- How to Save Soap Slivers Before They Wash Away
- What to Do With Leftover Soap Scraps: 7 Practical Methods
- How to Combine Soap Scraps Into a New Bar
- Why a Soap Saver Bag for Small Soap Pieces Works
- Matching the Method to Scrap Size and Soap Type
- Hygiene and Safe Handling When Reusing Scraps
- Uses for Soap Scraps Beyond the Shower and Sink
- Shop Handled Soaps That Leave No Sliver Behind
- Frequently Asked Questions
How to Save Soap Slivers Before They Wash Away
The last sliver of a bar of soap is the most wasted piece in your bathroom. It slips down the drain, sticks to the dish, or gets tossed because it is too small to grip. At The Soap Handler, we built a whole brand around stopping that waste, so we know exactly how to use every soap sliver before it disappears.
The fix starts before the sliver gets small. Save soap slivers in a dry, open container near the sink or shower. A small dish with drainage holes works best. Let each piece air-dry fully before adding the next one.
Wet scraps fuse into a mushy lump. Dry scraps stay workable for months.
Storing Scraps So They Stay Dry and Usable
A common mistake is dropping slivers into a sealed jar while they are still wet. Trapped moisture turns them soft and smelly.
Here is what works instead:
- Use a dish with holes or a small wire basket
- Keep scraps in one thin layer, not piled up
- Store away from direct spray from the shower
- Check the dish weekly and remove any piece that looks soft or sticky
Dry scraps are easy to press, grate, or melt later. Soft scraps limit your options. The storage step decides which methods stay open to you.
What to Do With Leftover Soap Scraps: 7 Practical Methods
Seven methods cover almost every scrap situation. The right one depends on how small the pieces are, how many you have saved, and what soap type you use.
Here are the seven methods, from simplest to most involved:
- Press a sliver onto a new bar
- Mash scraps into a soap ball
- Grate and soften scraps with hot water
- Combine scraps into a new bar
- Use a soap saver bag for small pieces
- Wash with scraps inside an exfoliating mitt
- Keep scraps at the sink for handwashing
Most households only need two or three of these. Method one handles a single sliver. Methods two through four handle a full jar of scraps. Methods five through seven put small pieces to work without any reshaping at all.
Press a Sliver Onto a New Bar
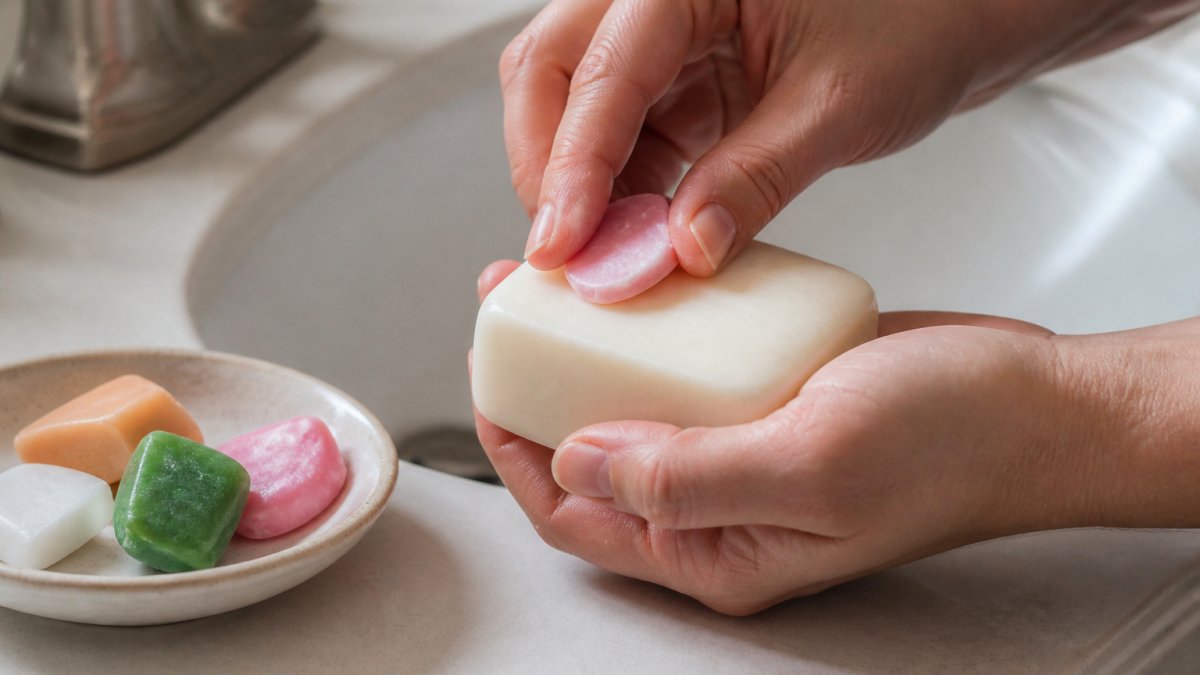
This is the fastest method and needs no tools. Wet the top of a fresh bar and press the sliver into it. Hold for a few seconds, then let the bar dry overnight.
The sliver fuses to the new bar as it dries. By the next shower, it is one piece.
Watch out: pressing a sliver onto a wet bar and using it right away usually knocks it loose. Give it a full day to set.
Mash Scraps Into a Soap Ball
A soap ball uses up several small pieces at once. Soften the scraps with a splash of warm water, then mash them together with your hands. Roll the mass into a ball and leave it to dry for a day or two.
The result is a lumpy but usable bar. It works well for handwashing at the sink. It is less ideal in the shower, where a round shape slips easily.
Grate and Soften Scraps With Hot Water
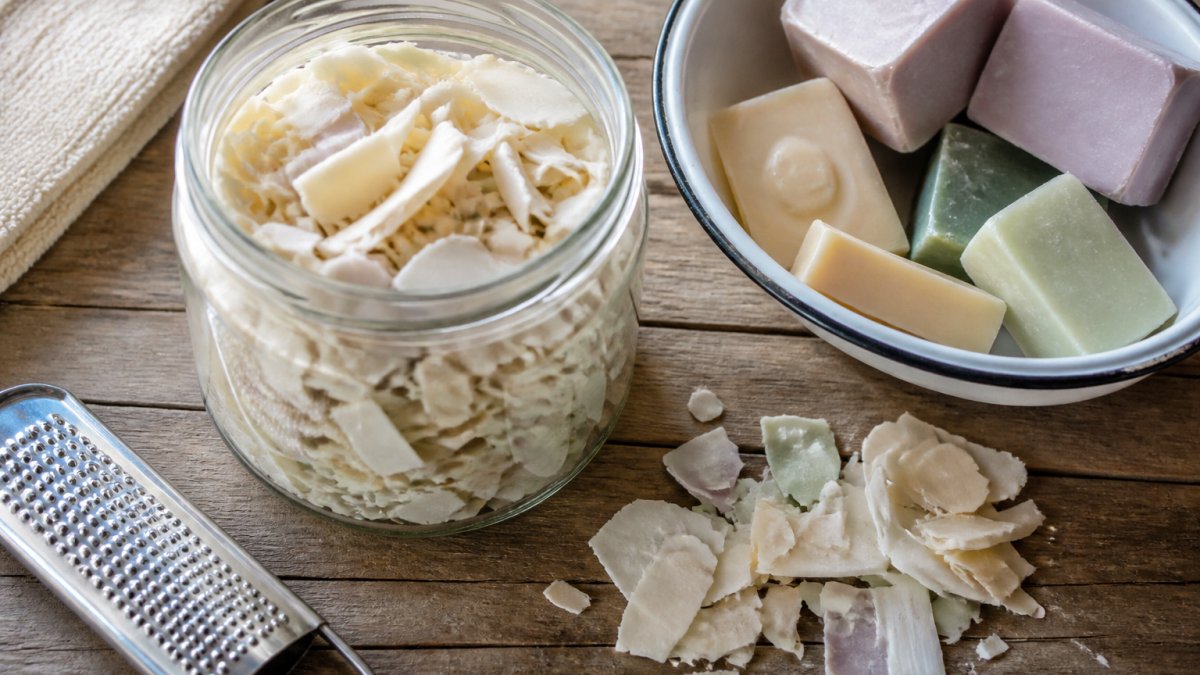
Grating works for hard, dry scraps that will not mash. Use a cheese grater kept only for soap. Add a little hot water to the gratings and stir until they clump.
Press the clumps into a mold or shape them by hand. Let the new bar dry for several days before use. This method needs no melting and no heat source beyond the tap.
How to Combine Soap Scraps Into a New Bar
Combining soap scraps into a new bar is the method most people ask about, and it splits into two clear routes: melt-and-pour or no-melt pressing.
Both routes work. The choice comes down to your equipment and your patience.
| Method | What You Need | Time | Best For |
|---|---|---|---|
| Melt-and-pour | Double boiler, mold, stirrer | 1-2 hours plus overnight set | Large batches of soft scraps |
| No-melt pressing | Grater, hot water, mold or hands | 20 minutes plus 2-3 days drying | Hard scraps, no stove needed |
Melt-and-Pour vs No-Melt Combining
Melt-and-pour gives the smoothest result. Chop the scraps small, melt them gently in a double boiler, and pour into a mold. Stir slowly and keep the heat low. Overheated soap can scorch and lose its scent.
No-melt pressing skips the stove entirely. Grate the scraps, add hot water, press into a mold, and wait. The bar holds together through pressure and moisture rather than heat.
Why a Soap Saver Bag for Small Soap Pieces Works
A soap saver bag is a small fabric pouch that holds soap bits and creates lather through the cloth. You drop the pieces in, pull the drawstring, and rub the bag against wet skin.
For anyone weighing whether handled soap actually cuts waste, our honest look at whether soap with a handle reduces waste covers the full picture.
Matching the Method to Scrap Size and Soap Type
Use this as a quick guide:
- One sliver, any size: press it onto a new bar
- A handful of soft scraps: mash into a soap ball
- Hard, dry scraps: grate and soften with hot water
- A full jar of mixed scraps: melt-and-pour into a new bar
- Tiny bits under a thumbnail: soap saver bag
- Oily or moisturizing soap: no-melt methods, since these soften fast
- Hard, long-lasting soap: grating and melting both work well
Soap type matters as much as size. Moisturizing bars with added oils soften quickly and press together easily. Hard, cured bars resist mashing, so grating suits them better.
Fragrance is another factor. Mixing a lavender scrap with a citrus one creates a muddled scent. Keep scraps sorted by scent family if you plan to combine them.
If you have questions about which of our soaps suit which method, our soap handler FAQ page answers the common ones.
Hygiene and Safe Handling When Reusing Scraps
Follow these habits:
- Let every scrap dry fully before storing
- Keep the storage dish drained and clean
- Wash your hands before mashing or grating scraps
- Use a dedicated grater and never return it to the kitchen
- Discard any scrap with dark spots or a sour smell
- Dry new bars for several days before first use
Anyone dealing with slippery scraps at the sink or in the shower will find practical fixes in our guide on how to stop dropping soap in the shower.
Uses for Soap Scraps Beyond the Shower and Sink
Bathroom use is only part of the story. Small soap remnants earn their keep all over the house.
Try these:
- Drawer freshener: place a dry scrap in a cotton bag among clothes
- Laundry booster: grate a little soap into a load of towels
- Stain treatment: rub a damp scrap on a fresh stain before washing
- Garden helper: drop scraps into a spray bottle of water to deter pests on plants
- Shoe deodorizer: tuck a dry piece inside smelly shoes overnight
- Zipper ease: rub a dry sliver along a stiff zipper
These uses suit plain, unscented, or lightly scented scraps best. Strongly perfumed soap can overpower a drawer or a load of laundry.
For anyone with sensitive or dry skin who wants to repurpose scraps for body use, our guide to natural soap for sensitive dry skin explains what to look for.
Shop Handled Soaps That Leave No Sliver Behind
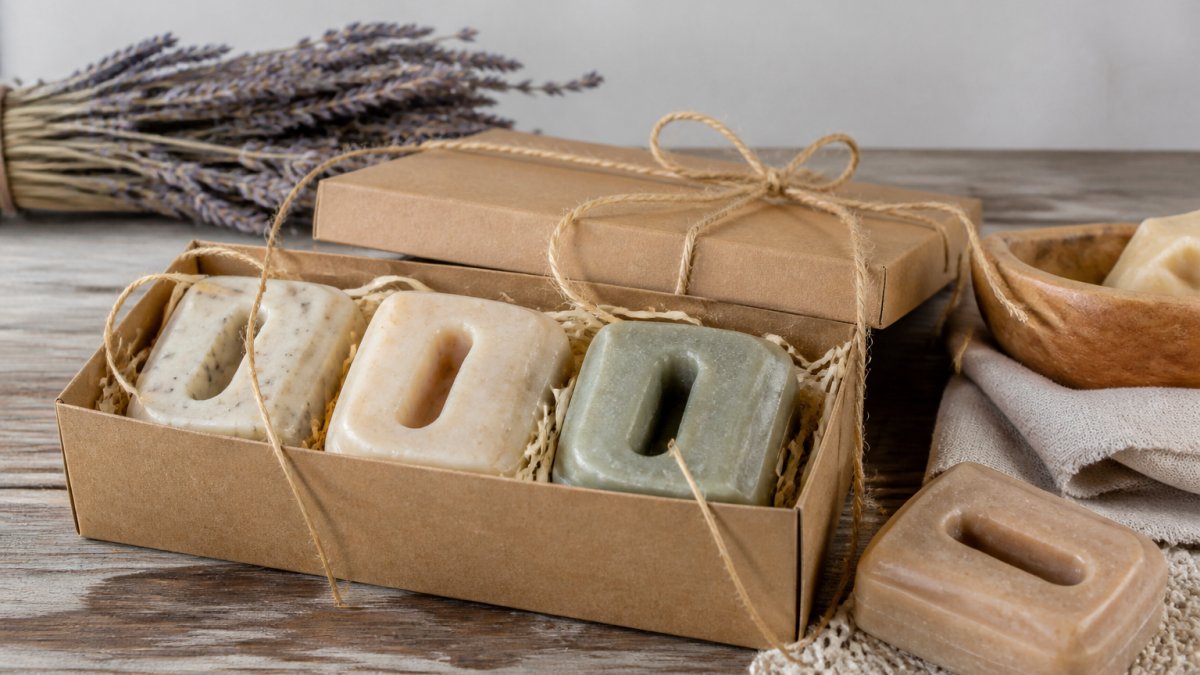
That is the idea behind our handled soaps.
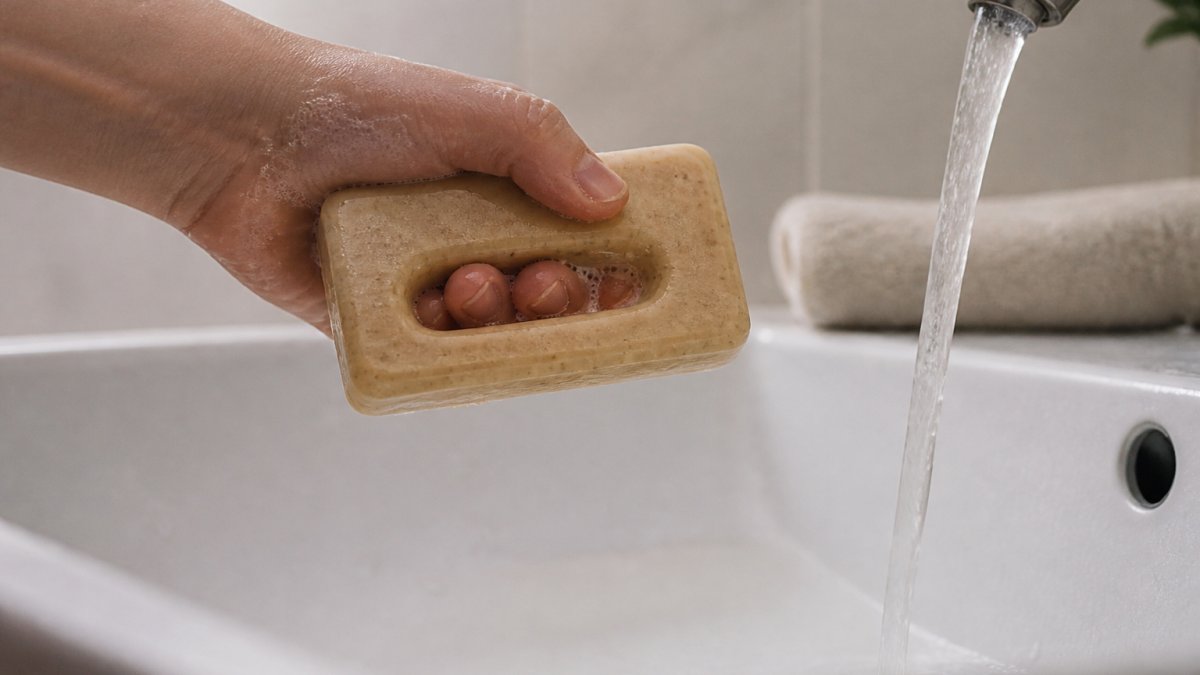
Each bar has a built-in handle. The soaps are made with natural ingredients and pure essential oils, with no synthetic attachments or plastic parts. Every bar comes from our woman-run workshop in India, made in small batches.
Here is where to start:
- The Classic Clean ($9.00): our largest handler, built to maximize use
- The Clean Stamp ($7.00): our flagship bar with a secure built-in grip
- The Clean Sweep ($9.00): a wide base and firm-grip handle
- The Sliced Handler ($8.00): a geometric, no-frills bar in your choice of scents
As customer Jane M. puts it: "This soap is slip free, nifty, and such fun to use. My soaping has never been this savvy."
Frequently Asked Questions
Can you put soap slivers in a mesh bag?
Yes. A soap saver bag or mesh sack holds small soap pieces together so you can lather with them as one unit. Drop the scraps in, pull the drawstring, and use the bag like a bar. The mesh adds gentle exfoliation, and when the pieces shrink further they stay contained instead of slipping down the drain. Rinse the bag and hang it to dry between uses so the soap inside does not turn mushy.
How do you combine leftover soap pieces into a new bar?
The simplest no-melt method is to press scraps onto a new bar while both are slightly damp, or to mash soft scraps together in your hands and squeeze them into a ball. For a smoother result, grate the scraps, add a splash of hot water, and press the softened mixture into a small mold. Let the new bar cure on a dry rack for a few days before using it so it holds its shape.
What can you do with tiny pieces of bar soap?
Tiny pieces work well in a soap saver bag, mashed into a soap ball, or softened with hot water and pressed into a mold. You can also use them outside the bathroom: a sliver in a drawer freshens clothes, a piece near a drain can help with odors, and small scraps make decent hand soap at the utility sink. Keeping scraps dry between uses is the key to getting the most out of them.
How do you keep a bar of soap from getting mushy?
Let the bar dry completely between uses. A soap dish with drainage slots, a wire rack, or a handled soap that hangs free of standing water all help. If you are saving soap slivers, store them in an open container rather than a sealed one so trapped moisture can escape. Mushy soap dissolves faster, so keeping bars dry is the easiest way to make each one last longer.
Every bar of soap ends somewhere. The question is whether it ends in the drain or in your hands. We built The Soap Handler to make that choice easy, with a built-in handle, all-natural ingredients, and a design that works down to the very last bit. Browse the full range and find the bar that fits your bathroom. Get started with The Soap Handler and use every last bit of your soap.